Phlebot
An vein finding and injection robot created for one of my senior capstones

 < Back
An vein finding and injection robot created for one of my senior capstones
For my capstone mechatronics class we were given three options: ShipBot, a robot designed to interface with valves and switches on a simulated ship, a stair climbing vacuuming robot and a robot for venipuncture. My group elected to go with the third option and built Phlebot.
Phlebot needed to autonomously find a vein, move a needle to it and inject. For this project I focused on mechanical design and electrical integration. A more in-depth website on all the specifics can be found here, but I’ll talk about some parts of it here.
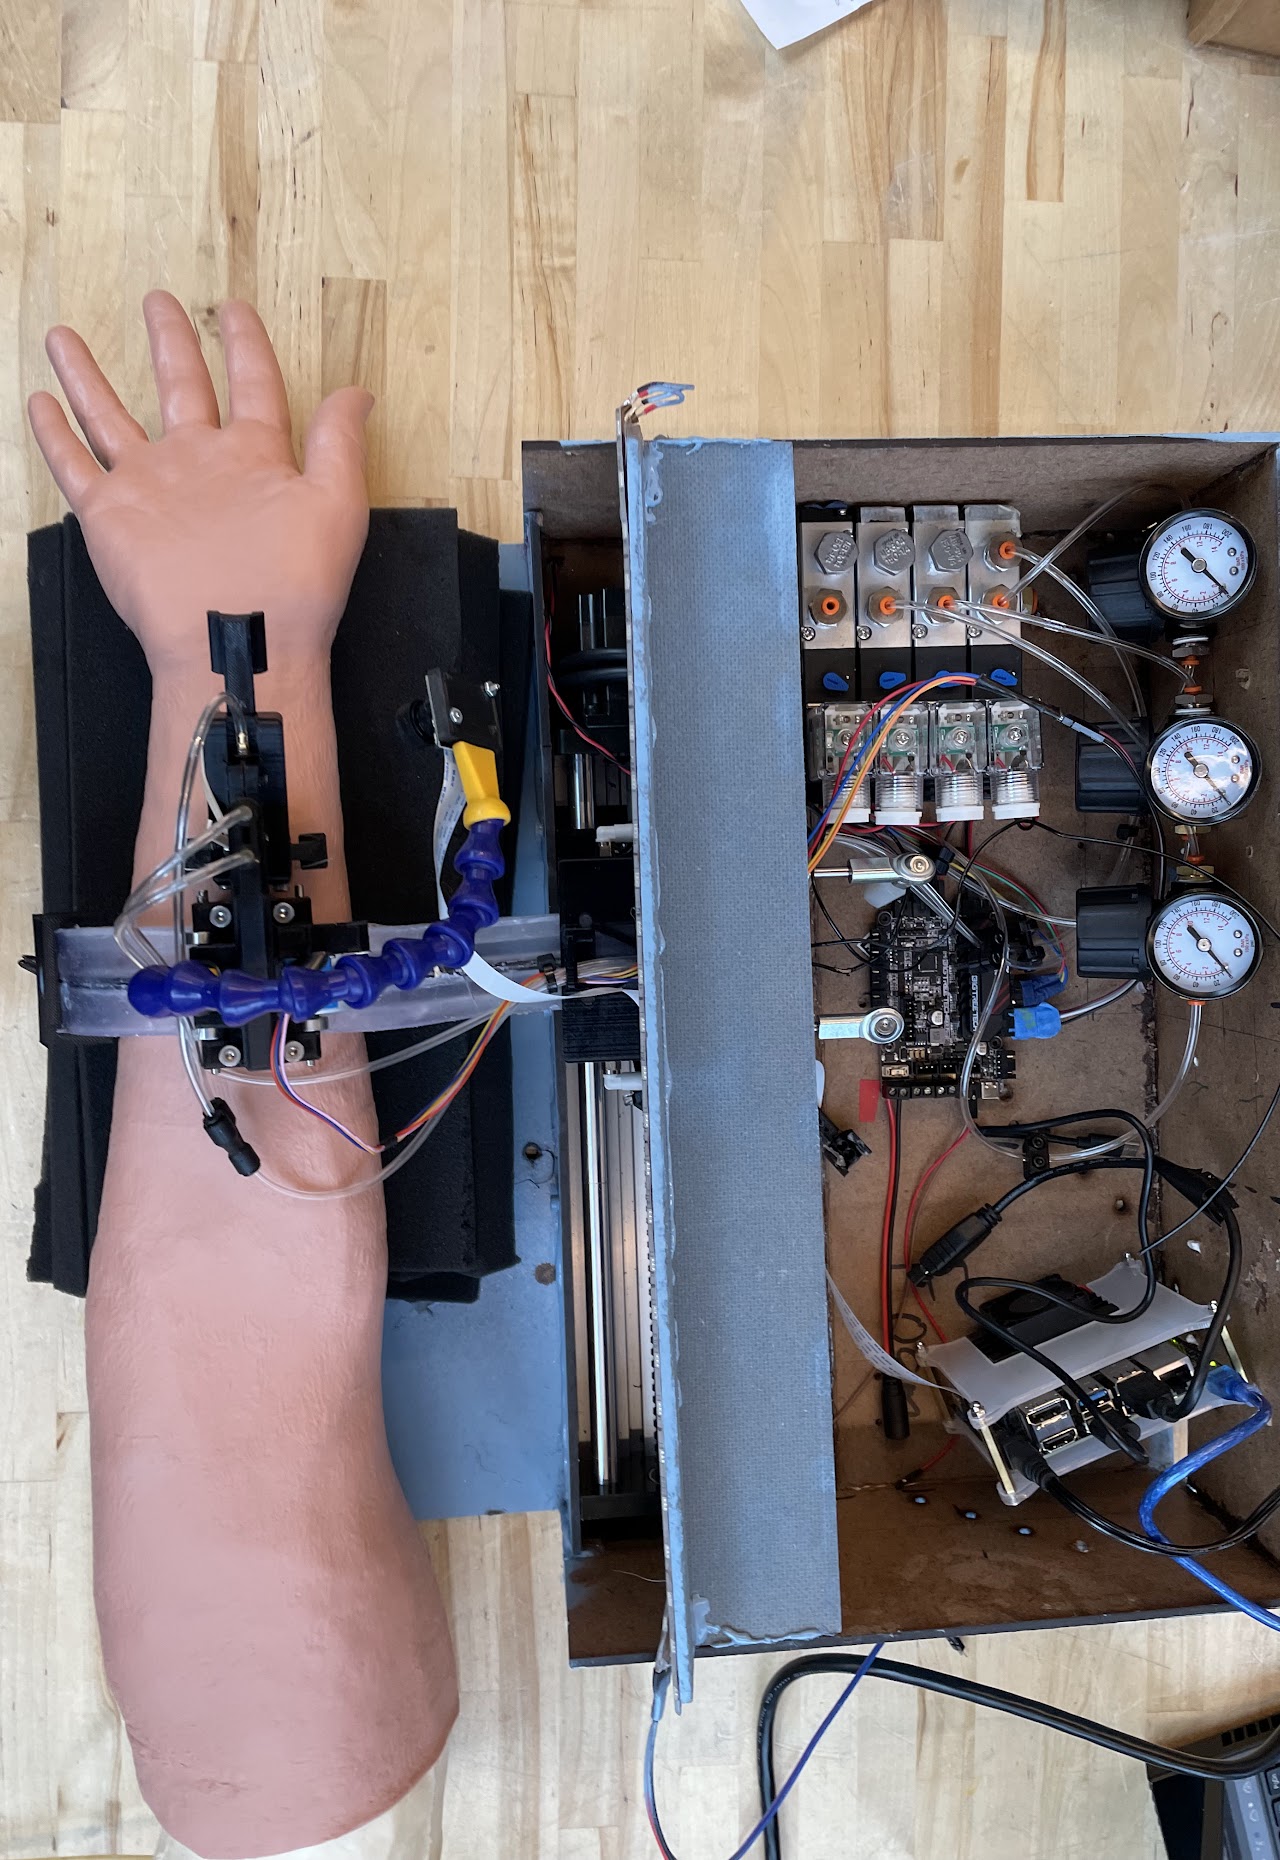
In broad strokes we used a bunch of custom 3D printed parts with a commercial stepper motor driver to control movement of two stepper motors and an array of solenoids for pneumatics. We ran a neural network on an Nvidia Jetson for image segmentation to detect regions with veins.

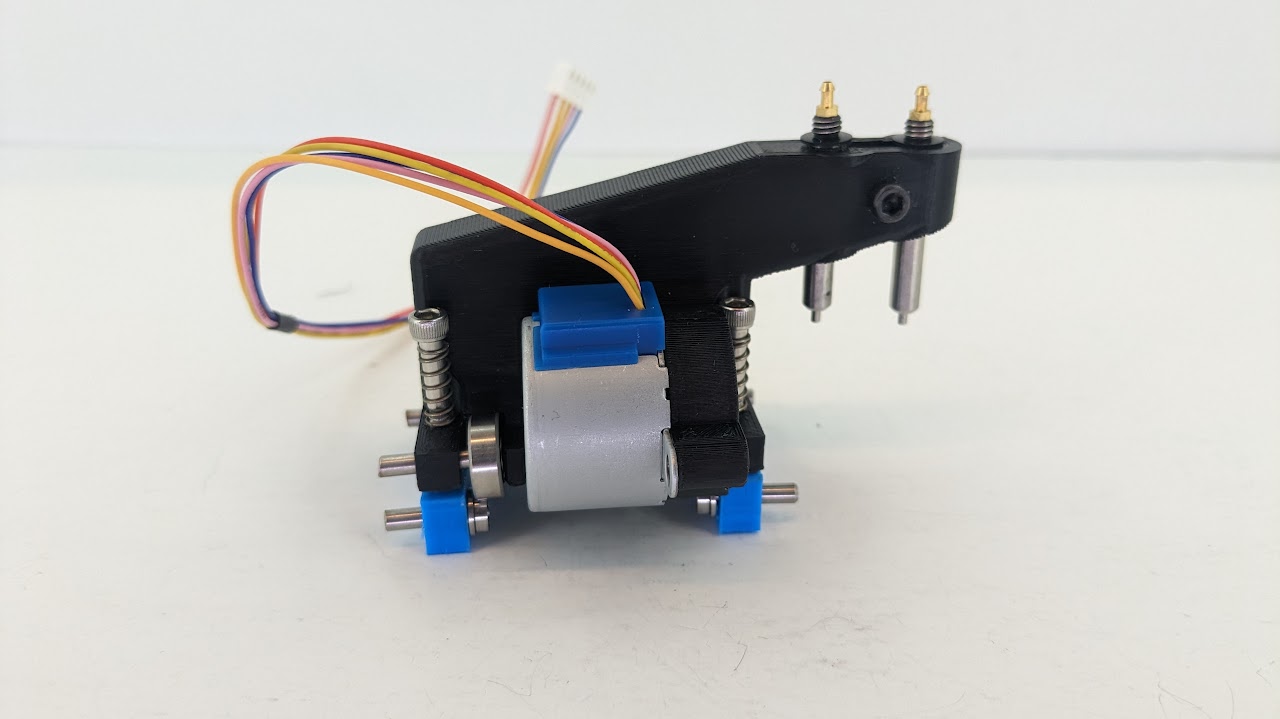
The translucent part on the left was our “compliant arm”. This was pneumatically actuated to secure the arm and make sure it didn’t move too much during the injection process. The black printed piece above it held the needle and a miniature pneumatic cylinder to actuate it. The lower part of that assembly held another pair of cylinders to drop the other assembly onto the skin and a stepper motor to move along the compliant arm. A close up of this part is below.

There were two big challenges with the project:
3D printing small parts, like we needed for the intricate pieces for holding the needle and moving, was quite the challenge. For starters my printer was thoroughly unreliable in even finishing the print and when it did results varied. Over all, we went through dozens of iterations tuning the printer and understanding how internal and external parts changed. We had to redesign parts to compensate for the limitations of the printer and adjust the dimensions to allow for tight and loose fitting parts to operate appropriately.

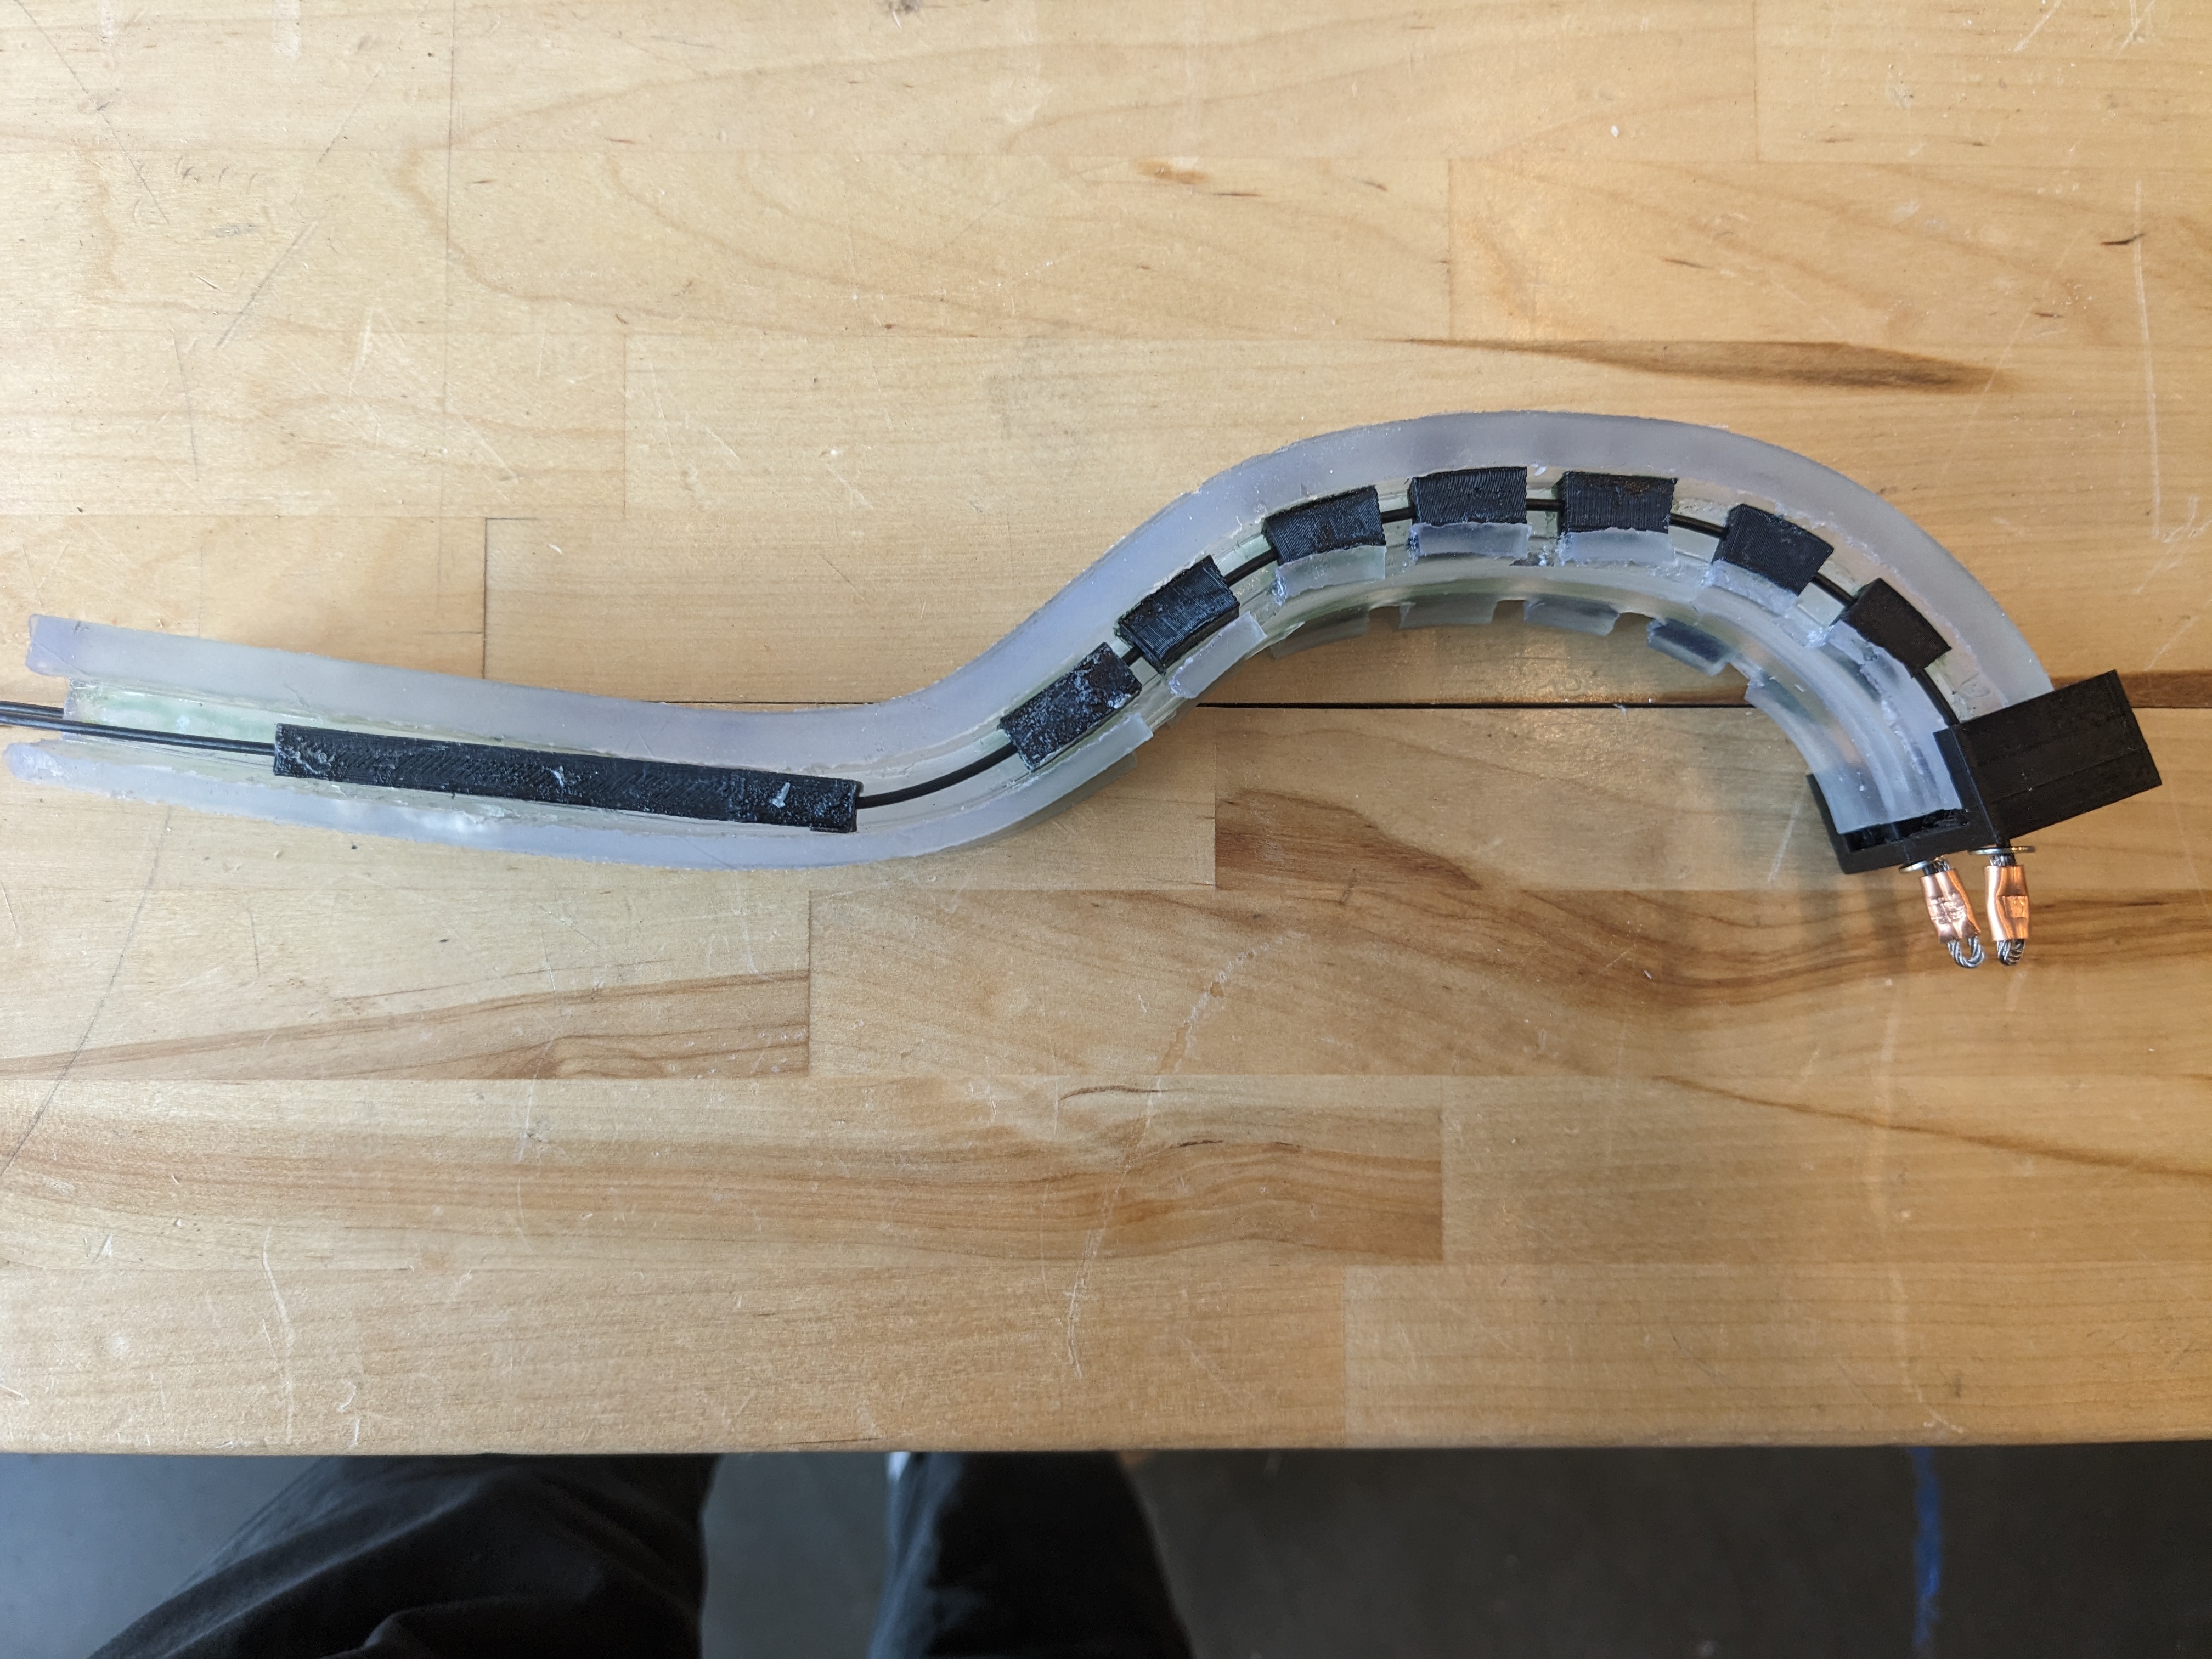
The second major complication was the compliant arm. We manufactured this using a flexible resin from Formlabs. To get the clamping and lifting action we ran cables through channels in the piece and tensioned them with pneumatic cylinders.

The process was working well until the parts started ripping. The tension would shear the cable through the upper and lower surfaces, or tear from the end of the piece. We minimized the tearing with a 3D printed cap, but the shearing was still an issue.
To make maters worse, the design of the piece made clearing out the channels for the cables difficult so of the dozens of prints only a handful were actually clear enough to actually use.
We experimented with a few different solutions, like shifting the cables to external channels reinforced with printed parts (pictured above) but the performance wasn’t quite what we wanted. Ultimately we ended up reinforcing the channels using surgical tubing. This better distributed the force and minimized the frequency of shearing.
We were also using cheap unipolar steppers from Adafruit which had some issues too. One of the big issues was generating enough torque to move along the compliant arm with the tool head attached. Interestingly enough by slightly modifying the motor we were able to get a large increase in torque.
For our perception stack, we initially examined using IR cameras. In theory blood will absorb certain frequencies of infrared light and that would give a pretty stark contrast to the surrounding environment. The fake blood and fake arm we were using didn’t respond well to the lights. If we had a higher wattage setup perhaps we could have gotten better performance, but we stuck with RGB cameras because our results were already promising.
All in all the system worked pretty well. On demo day, we autonomously detected a vein and moved to the target location. Unfortunately we were off by a few millimeters and missed the vein but with a bit of time to tune I’m sure we could have reduced this error.